Posts

Showing posts with the label Maybelline Color Show

Water Colour Nails

Image
A couple of nail looks that I had never tried before was attempting a reverse stamping design and water colour nail design. Reverse stamping is a technique where to complete, I used a ziplock bag to paint a nail sized square of clear polish. Once dry, you stamp the nail design you wish to use, then place on the nail like a decal, I placed it on a wet coat of clear top coat. Sounds easy enough, right? Yes, well as you'll be able to see, I didn't quite get the finish that I wanted. The water colour design, however, I was content with. Once a base colour is dry, you dot on various nail colours, working quickly on one nail at a time. I used the ziplock bag again to flatten the dots of colour. Simple, and so many variations can be experimented with. Because I wanted to use bright polishes, I used a white base, Maybelline Color Show Porcelain Party. The dots of colour  came from Models Inc Fluro Pink, Sally Hansen Xtreme Wear Blizzard Blue and Ulta3 Mojito. For the stamping, I...
Sunburst Nails

Image
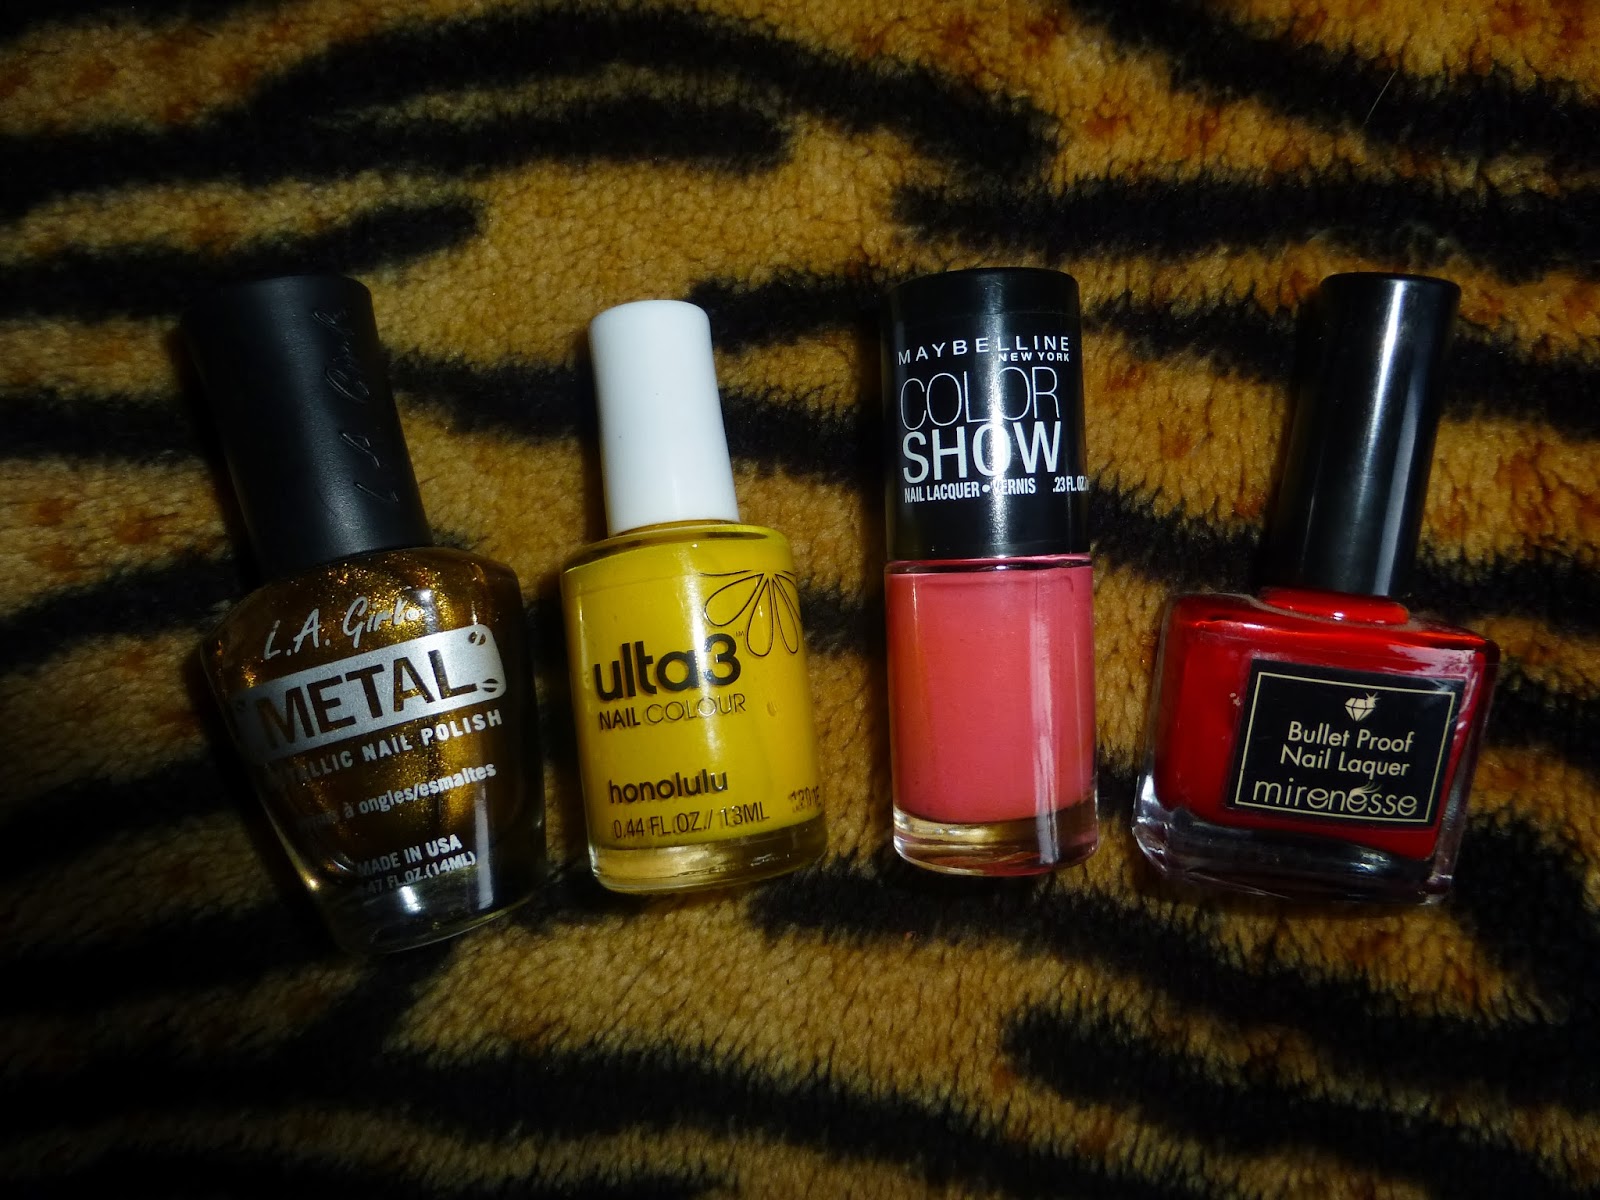
I love bright, warm, summery colours, especially so on my nails. Seeing as this summer in my part of the world has been so hot, I thought I would make my fingers "sizzle" with some warm colour. What colours conjure up a hot summers day like yellow, coral and red, with a hint of gold?? Keep reading, and you'll see what I mean :) I began with LA Girls Metal for my base colour. It is quite a sheer gold for my liking, but 2 or 3 coats resulted in the opaque finish that I wanted. Using 3 strokes of polish, Ulta3 Honolulu, Maybelline Color Show Coral Crush and Mirenesse Burlesque Strip, I then used a toothpick (surprise, surprise) to stripe across the colours. This blended the polishes slightly, whilst giving a starburst effect. I love how the gold becomes a feature by peeking through the design. What's your favourite summer time colour?

Galaxy Nails

Image
I love the interwebs! If not for this handy tool, I would find it hard to come up with new ideas for my nails. This is especially so for the following creation, galaxy nails. It's not new, though, I had not tried it until now, thinking that it looked too difficult. Enter Youtube tutorials, and now I have my own Galaxy Nails. Ok, to complete this look took a few steps, but you know me, of course it was easy! After applying Orly Bonder base coat, I applied two coats of navy blue, it's Lancome, but I forgot the name. Unfortunately I had to ditch the polish because it was beginning to get gluggy, I wish I had used it more over the years, which sadly, will most likely be the story of almost all of my polishes :( The first world problem of owning too many polishes. Anyway, once my nails were completely dry, I sponged Maybelline Color Show in Porcelaine Party, Borghese purple polish and Sally Hansen HD in Digital. I only dabbed a small amount of each in random places on my nails...

NOTD- Mosaic Nails

Image
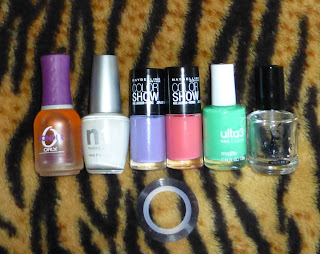
I wanted to try colour blocking for my nails. I'd seen the trend many times, but hadn't tried it for myself. I decided to choose Mod style colours, as I thought these would be perfect for stand-out nails.  Because I wanted to incorporate striping, I began with a white base over Orly Bonder, using Models Inc polish in White. With this polish 2 coats gives an opaque finish. Once the layers had dried completely (patience is a must, eek!) I could begin with the next step, the nail striping. I haphazardly placed the tape on my nails to separate each nail into 3 parts. For each section I chose to use Ulta3 in Mojito, a bright pastel green, Maybelline Color Show polishes in Coral Crush and Iced Queen, a mauve colour.  I picked up the Maybelline Color Show polishes from Chemist Warehouse when they were on sale. Most of the colours had already sold out, but I was lucky enough to find these gorgeous polishes.  I am yet to try these polishes on their own, but so far love the c...