Posts

Showing posts with the label Ulta3

Nail Polish Declutter Intro
Image
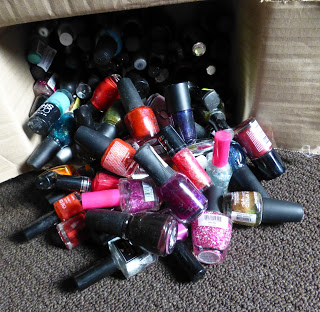
With over 400 nail polishes I decided it was time to declutter my collection. In the past I have gone through my polishes and removed some of the dupes I had. This time around I wanted to thoroughly go through my polishes. I decided that I will try and apply every nail polish that I own, see how I find not only the colour, but how it wears. My aim is to check in monthly and show you the nail polishes I have tried in that time. I only apply a different nail polish probably twice a week, so this project is going to take quite a while. Crazed For Coral Burnt Orange Burlesque Strip True Red Red Rage Out of these orange/red polishes, I will be keeping all but the Models Inc True Red and Red Rage. I feel that I don't need so many reds and these are the 2 that don't perform as well formula wise. They are both not as opaque as the others. Nail polish tally- 3

September Empties

Image
I was so happy that with September the weather would warm up because it meant the arrival of Spring. Nope, didn't really happen where I live, hopefully with October I will see more sunshine! Oh, and of course with a new month it means I get to show you the products I finished. Just a handful of products, really, but I'll quickly run through each item with you. Sunsense Sensitive Invisible 50+ Sunscreen - This sunscreen being zinc based is a physical sunscreen. Thankfully, it isn't a thick product and doesn't give the skin an unwanted white cast like so many often do.  Repurchase? I will repurchase this sunscreen. It has a  high SPF rating, something that is very important here in Australia, plus I  find it works well as a primer under my foundation.  It's Skin Power 10 Formula WH Effector - A light weight serum that is targeted towards those wanting a more even skintone. Repurchase? I liked how light the formula is and how quickly it is absorbed ...

Simply Nails 2017 #6

Image
On my favourite online forum, you've probably guessed it's Beauty Heaven, a thread was started for nail art challenges for anyone interested in being involved. Essentially, a couple of colours are chosen to use in a nail look. I thought I would also share with you my effort of this week's "Green and Blue" challenge. You know the rule "Blue and green should never be seen..." well, I'm one that doesn't follow colour rules. Whether it be certain colours for the season to what colours should not be paired. I like to play with any combo, so I was excited to do a green and blue nail. I chose Ulta3 Mojito, Boe Beauty Blue Illusion and a Kleancolor shimmer topper. I painted the green first, then sponged on the blue just to the 2nd half of my nail to create an ombre. For a sparkly final touch I painted 2 coats of the green tinted base with a golden holographic shimmer. Thanks for reading xx

Nail Art 2017 #1

Image
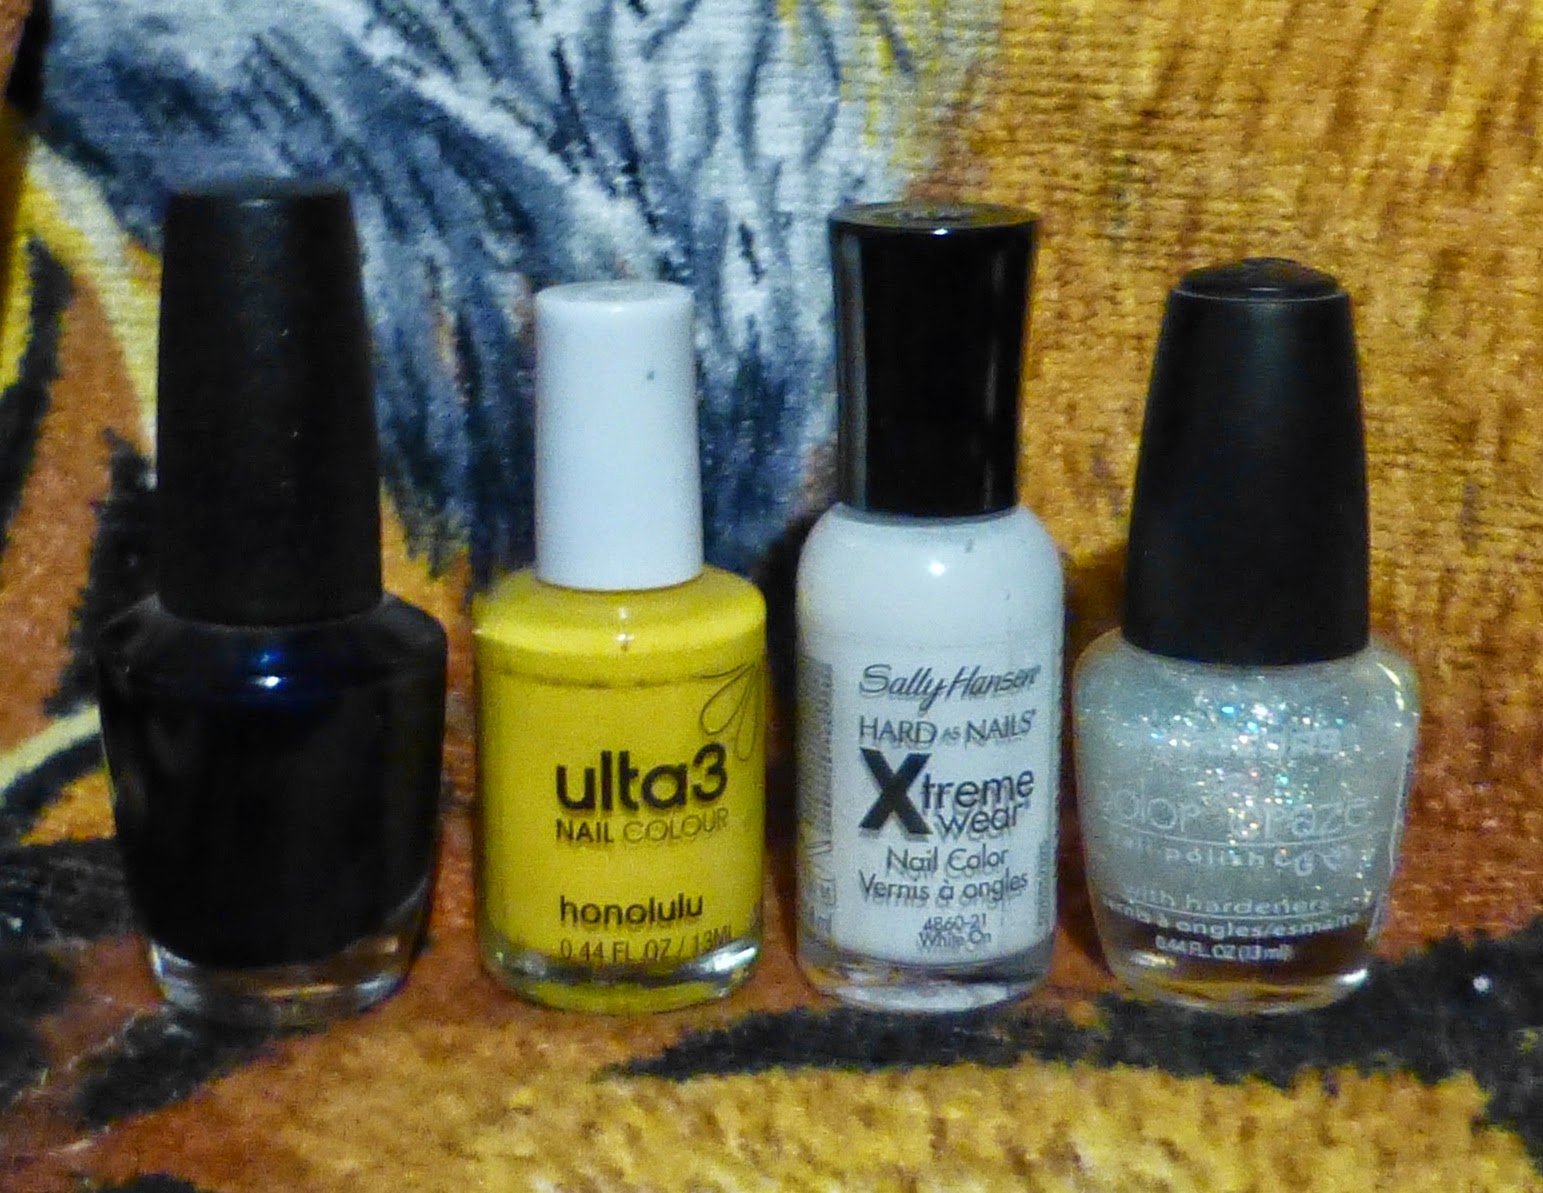
I was inspired to create my mani after seeing a tutorial on Facebook. It looked fairly easy and I just loved the finished look. A dotticure, but not just any dotticure, the dots being multi-toned. I'll explain... Once I decided I wanted warm colours on my nails, I needed to begin with a dark base colour. For this I chose Sally Hansen Diamond Strength polish in Save the Date. For the dots I began with a combination of Sally Hansen Xtreme Wear polish in White On, Models Prefer Nail Color in Trendy and Ulta3 Nail Color in Honolulu. With the smaller end of my chosen dotting tool I slightly mixed the polishes so that the individual colours were still obvious. I then proceeded to place dots on my nails with the swirled polish using the larger end of the dotting tool. I definitely want to try some different colours using this technique!

Nail Art Wednesday

Image
If you follow Kat on Instagram , you would have been delighted by her wonderful photos of various flowers. It was viewing these photos that inspired this nail look. Models Inc "Diamond Shine", Australis "#bethatgirl", Ulta3 "Honolulu and Australis "Glitter Strikes Back" I began with a champagne base colour. On the fingers that I wanted to replicate a flower design, I applied another coat of the base polish. While still wet, I dotted on the purple polish, then yellow in the centre. Using a toothpick, I dragged the yellow polish out from the middle, in the hope of creating a design reminiscent of a pansy. On the remaining nails I applied the glitter topper, "Empire Strikes Back". I hope I did justice to these beautiful flowers :) I just linked this post to Monday Makeup Madness over at Fabulous and Fun Life  

Nail Art Wednesday

Image
With this beautiful weather I've been experiencing in my neck-of-the-woods, I was inspired to create a mani to represent that warmth. Boe "Blue Illusion", Sally Hansen Xtreme Nails "White On, Ulta3 "Honolulu"  and Models Inc. "Cookie". I began with a blue base. Once the polish was dry, I sponged on dabs of white to mimic clouds. On 2 of my nails, I used a brush to paint on "petals" of a sunflower. To finish the flower off, I used some dark brown polish on a dotting tool to place dots in the center. I really loved how this mani turned out, especially the clouds. I hope you are having a wonderful week! :)

Double Process Nail Stamping

Image
I discovered this stamping technique thanks to a youtube tutorial from the online seller of all things nail stamping, Messy Mansion . Double Processing simply means, picking up a design on your rubber stamper, then stamping another design over top. Simple explanation, but I wouldn't call it easy. For starters you need to work quickly, even quicker than regular stamping. For the initial design, you need to use a nail polish that doesn't dry too quickly, preferably a cream finish. Using this method gives the ability to stamp a design onto another design, probably best to use a block pattern or symbol as your second design. NYC "Lolly Pop", Sally Hansen "White On" and Ulta3 "Purple Pumps" I began with the foiled pink shade of "Lolly Pop" as my base colour. Then using "Purple Pumps" on a stamp with an intricate design, I proceeded to press the stamp onto a giraffe print type stamp, any remaining design created with the p...

Metal Flake Nails

Image
I'll start by saying that this was not the mani I had in mind, but, thankfully it still turned out ok. I thought it would be such a great idea to apply nail polish using a toothbrush for a different effect. I assumed I'd get a pattern made up of tiny dots. Nope.  OPI "Passion", Ulta3 gold polish, LA Colors "Live" and Essie "Pure Pearlfection". I thought a natural colour would be a good choice to apply gold and silver over. Using an old toothbrush, I dabbed both gold and silver on my nails. It seemed to give a gold leaf kind of effect to these metallic shades. I then applied Essie "Pure Pearlfection" to tie both shades together. In future, I think I will stick to using my old toothbrushes as little scrubbing brushes for cleaning the bathroom, lol.

NOTD- Colourful Stamping

Image
I've had a short break from posting nail looks of late, but I am so glad to now have a mani to show you! The nail polishes I used for this mani were Sally Hansen "White On", which I neglected to include in the photo somehow, Ulta3 "Purple Pumps" and "Mojito", and MUD "Crazed for Coral". I began with a white base, then opted for cream finish polishes for stamping on a splatter design. In general, I find creams to be more opaque. To achieve the coloured look, I simply painted a stroke of each polish across the design I was using. It's the first time I have tried this technique with nail stamping, but I really like it. The result is effective, without much more effort than stamping with just the one shade takes. I hope you're having a fabulous day! :)

Easter Nails

Image
For this year's Easter nail mani, I went for some fun pastels and a cute design to stamp over them. Not necessarily easily recognizable as being Easter themed, but lately my creative side has been lacking, so a simple look was what I was after. The base colours I used were Ulta3 "Honolulu", Maybelline Color Show "Green With Envy", Face of Australia "Funky Town" and Essie "Lion Around".  Instead of painting the whole nail, I stroked 3 columns of colour, of different height, creating a scalloped design. Also allowing me to incorporate the highly popular negative space. I chose a stamping plate with some round shapes, reminiscent of eggs..well, sort of, lol. I used Sally Hansen Xtreme Wear "White On", a fantastic white for stamping.  Then because I can't seem to get enough of Essie "Pure Pearlfection" top coat, I added a coat of this gorgeous clear polish full of tiny diamond-like sparkle. ...

New Year's Eve NOTD

Image
I don't have anything planned to celebrate NYE, but I was sure going to at least create a celebration on my nails. To create my nail look, I began with the dark blue colour of Models Inc "Midnite Blue" as my base colour. This was to represent the night sky. I then used Ulta3 "Honolulu" and Sally Hansen Xtreme Wear "White On" to paint on designs to represent fireworks.  Being New Year's Eve, I needed some sparkle, so two coats of LA Colors "Sassy Sparkle" finished my look. Well, I might not be doing anything exciting, but at least my nails look like they are having a party! What are your plans for NYE? Whatever you do, I hope you have a good one! xx

Ulta3 Dotticure

Image
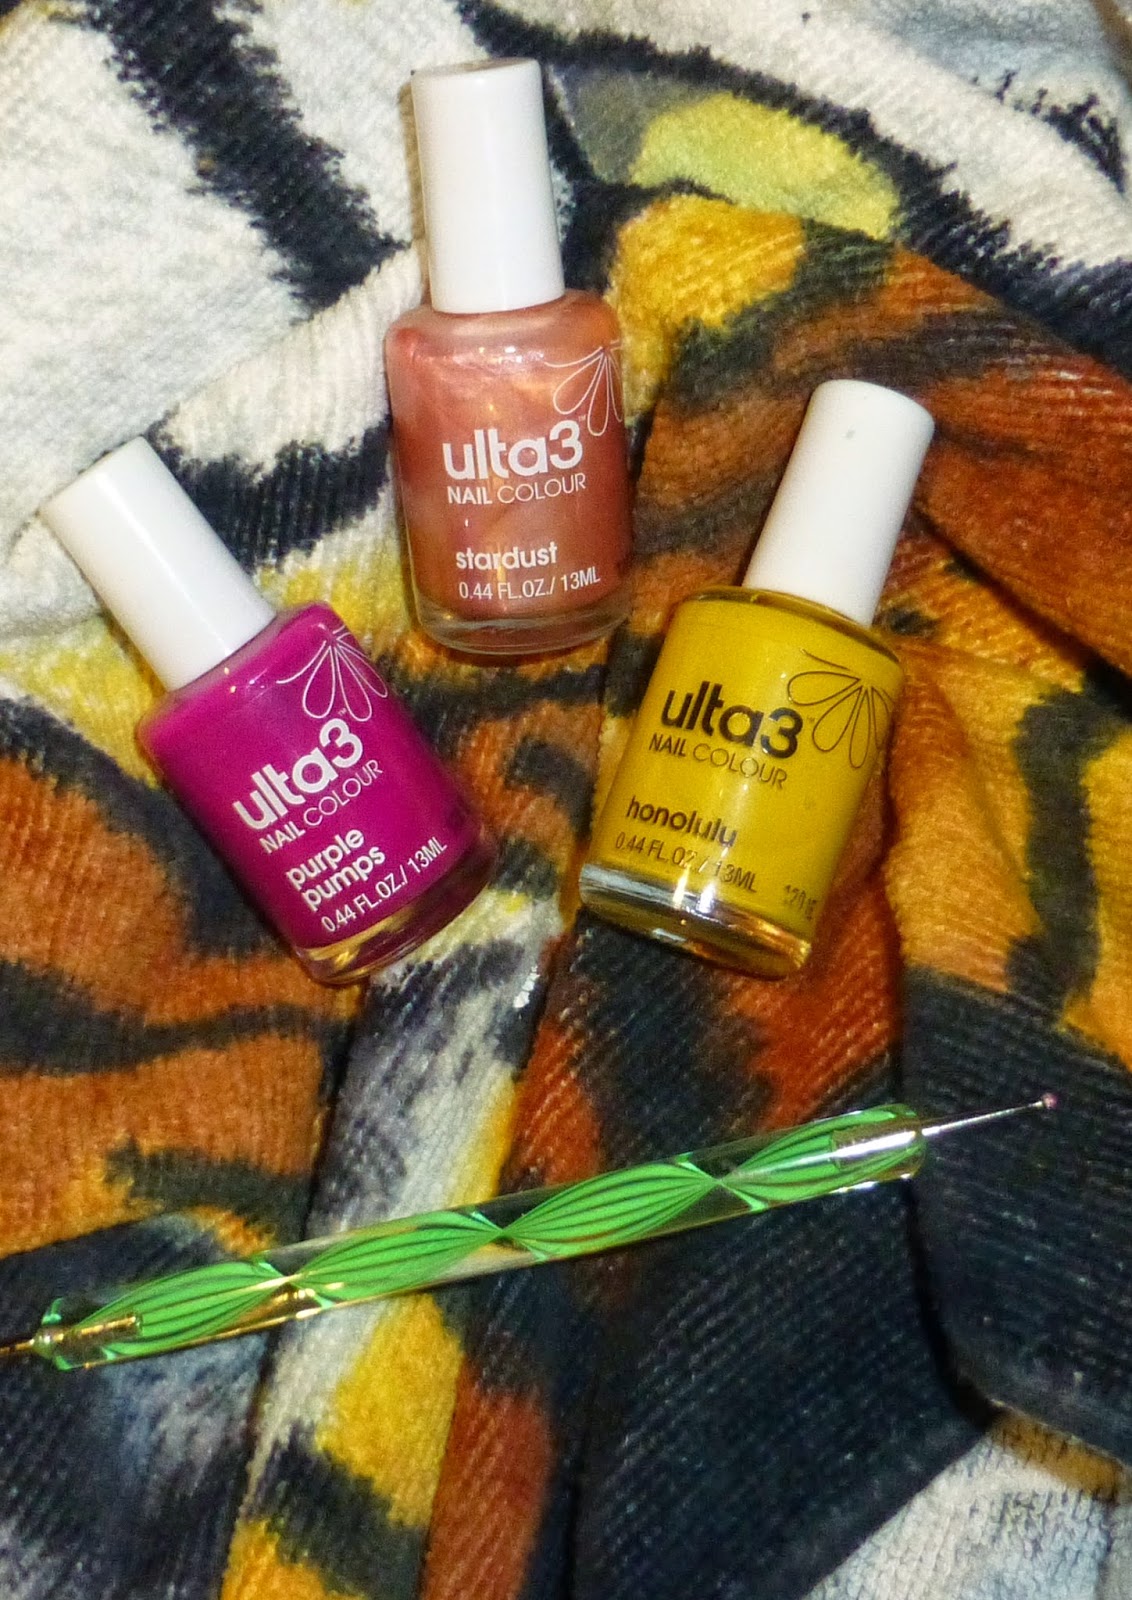
I've always loved polka-dot manis. I thought it was about time to create my own version. Dots might be dots, but there are so many combinations, sizes and placement, that the possibilities are endless. My first step was choosing the colours, then the tool.  I have so many Ulta3 polishes. It's just too much temptation when they are cheap as chips with so many shades and finishes to choose from. Anyway, I decided to use "Purple Pumps", "Stardust" and "Honolulu". The sheer pink pearl "Stardust" is my base colour. Using a double ended dotting tool I applied "Purple Pumps" dots, with smaller ones using "Honolulu". I find the easiest way to create the dots is to dab polish on paper or plastic, then lightly push the ball of the dotting tool into the polish, and then simply apply to the nails. I thought this turned out to be a fun mani, and not as difficult as I thought it would be.

FOTD- Featuring Ulta3 "Cherry Wine" Lipstick

Image
If you've seen my other FOTD posts, you'd notice that I'm more inclined to play up my eyes, rather than my lips. Don't get me wrong I really like lip products, but my first love is eye shadows. Today's post came about because I was running out of time to get ready. Eye shadow application can really take quite some time when getting ready. A simple neutral brown cream shadow on my lid, some gel liner and mascara, my eye look was done! ...and this is the hero of my makeup look. Ulta3 lipstick in "Cherry Wine" Moisturising, pigmented and very budget friendly, this lipstick was a great buy! Do you concentrate on emphasizing the eyes or the lips? Maybe both? :)

NOTD

Image
I have been trying not to buy more nail polishes, but a colour will often catch my eye. Sometimes I can resist, a lot of the time I just can't. I was enamoured by "Let's Talk" and "Endless Blue", 2 Sinful Colors polishes that I just needed. Just look at those stunning colours, can you blame me?? ;) Mind you, "Let's Talk" is a vibrant metallic purple, not blue! Ugh. Well, because I could not choose which pretty to apply to my nails, my other option was to use both.  I began with a coat of "Let's Talk", I wish you could see the actual metallic purple, it's divine!  After a second coat of "Let's Talk", whilst wet, along both sides of the nail, I applied "Endless Blue" and Ulta3 "Crystallina" for a touch of sparkle. Then I simple ran a cuticle stick across my nail to swirl the polishes.  I found the technique effective in showcasing both polishes, and well, who doesn...